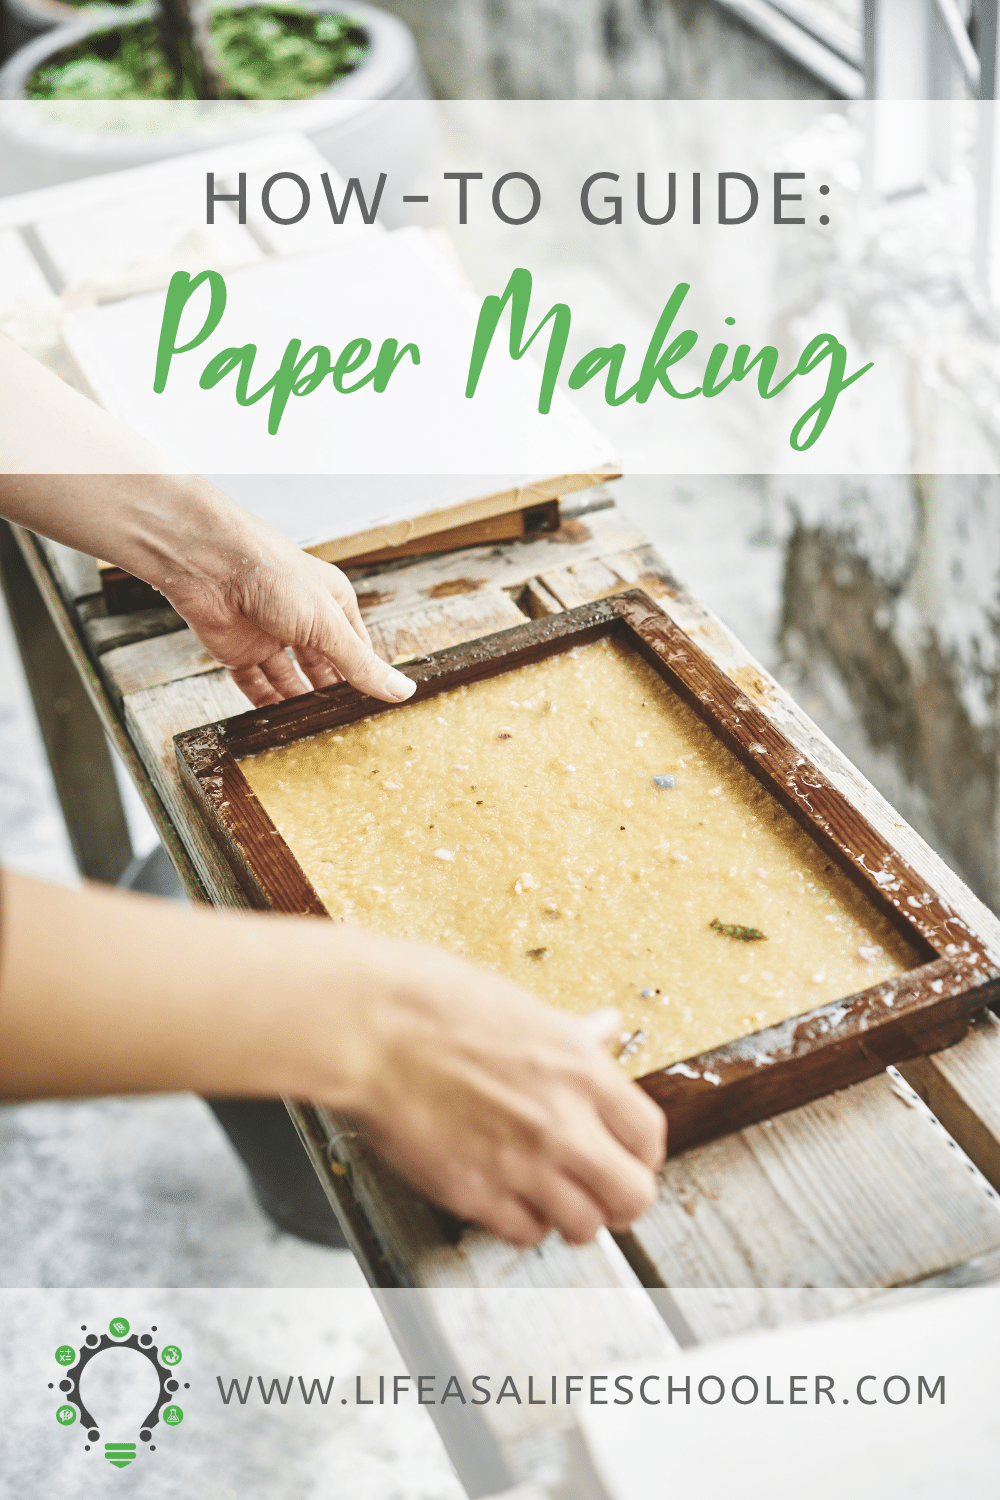
Paper Making How-to Guide
This paper making how to will help you walk through this simple process and create something beautiful and useful with your kids! Not only is it a great homeschooling project to teach your children the process of creating paper, but it’s also a great way to recycle waste paper into exciting new items.
I first made paper years ago in a fiber arts course as a 3-dimensional art major, and I have such fun memories from that class! I experimented with adding all kinds of things to the paper to make it more interesting and artistic. This is a fun project with so many possibilities!
Uses for Homemade Paper
Unlike most crafts you do with kids, the end product of this papermaking project is something you will want to keep and actually use! You can use your homemade paper to create collages or as a medium for watercolor, pencil, or other art tools.
I love to use homemade paper to create journals and books. (These make great gifts, by the way). If you have a reluctant writer, how much more special would it be for your child to write daily in their own journal that they made completely from scratch!
In addition to daily journal entries, you can also use handmade paper journals for notebooking exercises, or other homeschool projects that require some type of documentation. Here is a bookbinding kit if you’d like to take your paper to the next level.
Guest books for various events, such as baby and bridal showers, are also a great option. I actually hand made the guest book For my daughter’s wedding, and it turned out beautifully and gave such a personal touch! Another great use for homemade paper is handmade cards. These can be a such a special keepsake, especially for weddings or significant birthdays.

Paper Making How To: Instructions for Making Homemade Paper
Okay, here we go with the actual process of making paper! To make your homemade paper, you will need to collect scrap paper or newspaper. See what’s lying around your house or in your recycling bin.
You can try using unprinted computer paper, newspaper, magazines, old cards, or anything else you can find, but the best type of paper for this project is anything that is soft and breaks down easily. Egg cartons, napkins, and construction paper are good examples. If you have something extra special in mind for the final product, you can also purchase pulps and fibers that are intended for this purpose.
You will also need:
- A sponge
- Window screening
- Wood frame
- Plastic basin large enough to immerse frame into
- Blender or food processor (Use one you can dedicate to this purpose. Here’s a cheap one on Amazon, or visit your local thrift store.)
- Staples or tacks
- Liquid starch if you want to be able to write on your paper
- Fabric or felt squares
- Two cookie sheets
If you want to make things even simpler on yourself, you can order this paper-making kit from Amazon that includes pretty much everything you will need except the basin for water. I would also suggest watching the video below for a good overview before you try going through the steps yourself.
1. To make your homemade paper, first choose the paper you want to recycle. If you can’t decide, you can even mix the types of paper you use. That can also give it a more interesting effect!
2. Rip up the paper and put it in the blender until it is about half full. Fill the blender the rest of the way with warm water. (Use this blender only for paper-making.)
3. Start the blender slowly at first, then gradually increase the speed. Blend until the paper pulp looks smooth and well blended. This will take about thirty to forty seconds. If any pieces or flakes of paper are still visible, blend it a while longer.
4. To make your paper mold, stretch the window screening across the wood frame and staple or tack it as tightly as possible. (Alternatively, you can purchase pre-stretched screens from Amazon.)
Fill the basin halfway with water. Add three blender loads of pulp and stir the mixture.
If you’re going to be writing on your paper, stir in 2 teaspoons of liquid starch.
5. Put the mold into the pulp. Bring it to just under the surface of the water and level it out until the pulp on top of the screen looks even.
6. Very slowly, lift the mold until it is above the water. Let the water drain from the pulp on top of the screen.
7. When it stops dripping, ease the mold onto a piece of felt or fabric, with the paper directly on the fabric. Use your sponge to gently press out as much water as possible.
8. Hold the fabric flat and carefully lift the edge of the mold. The new sheet of paper should stay on the fabric. It may take some practice to get this part right.
9. Repeat the above steps and stack your fabric squares on a cookie sheet. When you have one square left, save it to put on top of your last piece of paper. Use the second cookie sheet to put on top of the pile and squeeze out the remaining water.
10. After all the water is squeezed out, separate the sheets. Dry them by letting them lie out on sheets on newspaper. When they’re dry, peel off the fabric, and you have your new, homemade paper.
Conclusion: How to Make Paper
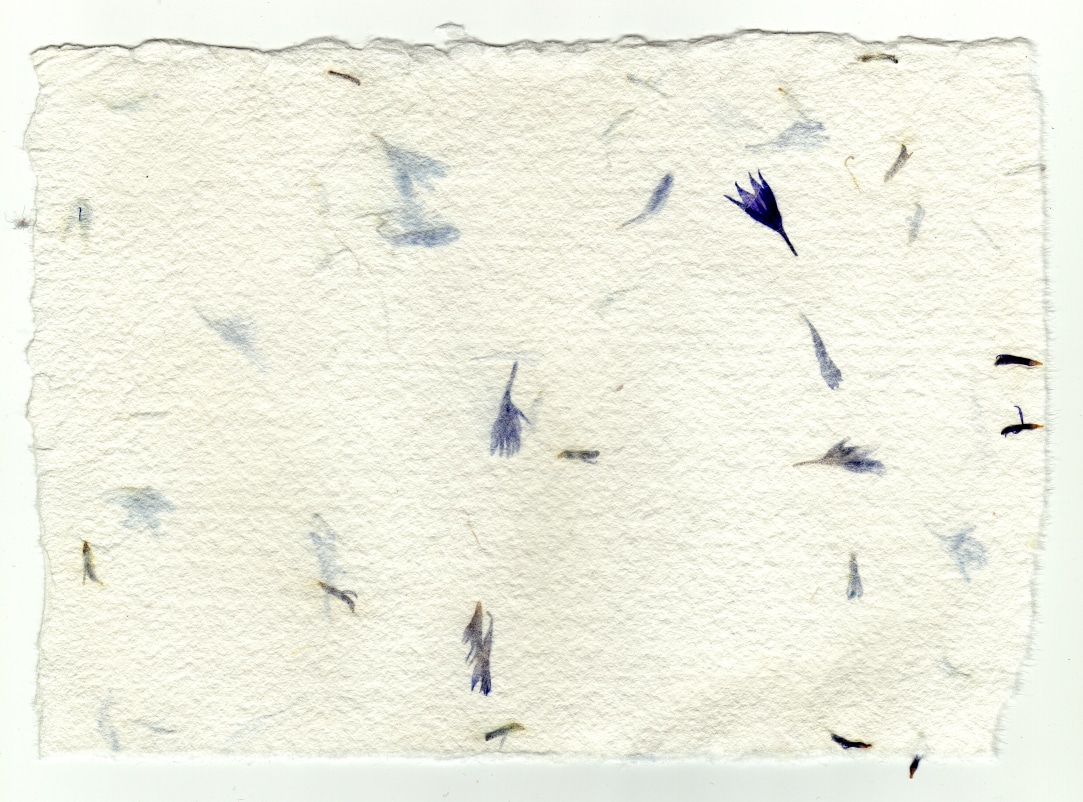
I hope this paper making how to has been instructive and inspiring! Above all, just have fun with it! Experiment with different kinds of paper and additions (after the paper is blended), such as scraps of thread, glitter, seeds, flower petals, and even dried onion peels.
You can’t go wrong…but even if the end result it’s not what you had in mind, keep playing and discovering what works and help your children to do the same. This is how you develop creativity!
If you have tried out this craft and have tips and suggestions, let me know in the comments below!

- Life Schooling Guide: Steps to Planning a Relaxed Homeschool - July 15, 2026
- Top 10 Websites for Game Education Online - May 25, 2026
- Paper Making How to Guide - May 15, 2026